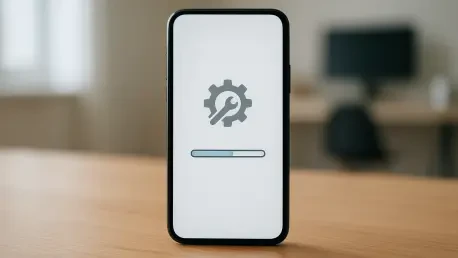

By holding the side button during the startup process until specific prompts appear, users can now bypass the standard operating system to fix software issues. This transformation in device maintenance marks a significant shift away from the era when a physical connection to a computer was mandatory for basic troubleshooting. Imagine a scenario where an iPhone becomes unresponsive during a critical travel update, miles away from any desktop workstation; the frustration of a bricked device is now mitigated by these integrated tools. This standalone recovery environment represents a peak in engineering design, prioritizing user autonomy and reducing dependency on technical support centers. The inclusion of such a robust feature within the local firmware ensures that software corruption no longer necessitates a trip to a retail store or the use of specialized cables. As mobile devices continue to replace laptops as primary computing units, the architecture of iOS 27 aligns with this mobile-first reality by providing a failsafe that is both intuitive and powerful for all users.
1. Accessing the Hardware Entry and Exit Interfaces
To access the self-rescue interface on an iPhone or iPad, users must follow a specific hardware sequence designed to distinguish a standard boot from a recovery request. The first step requires the hardware to be shut down completely by powering off the device and waiting approximately sixty seconds to ensure all background tasks have finished. Once the unit is entirely dark, the startup process is initiated by pressing and maintaining a grip on the Side button. When the Apple logo shows up on the display, the user must continue to keep the button held down firmly. It is necessary to wait until the message “Continue holding for recovery…” appears before making any further adjustments. Finally, the loading sequence is triggered by letting go of the button the moment the screen displays “Loading recovery options…”. This precise timing ensures that the device enters the protected partition where repair utilities are hosted, rather than simply rebooting back into a potentially broken version of the OS.
Returning to the standard operating system after finishing repairs or entering the screen by mistake is a straightforward process that offers both touch-based and physical alternatives. To leave the recovery environment using the on-screen controls, the user can tap the power icon located in the upper-right corner of the interface and select the restart option from the menu. This action terminates the diagnostic session and attempts a normal boot into the primary user environment. Alternatively, for those who prefer using the physical buttons, holding down the Side button once more will bring up a selection menu. From there, the user can pick “Restart” or “Shut Down” to reset the device state. These dual exit strategies ensure that even if the touchscreen becomes unresponsive during the recovery session, there is always a reliable way to cycle the power and return to the main interface. Proper navigation out of this mode is essential to ensure that any changes made during the session are finalized correctly before the next boot cycle.
2. Comprehensive Recovery Utilities and Peer-to-Peer Restoration
The recovery interface tools provide a comprehensive suite for resolving various technical difficulties without the need for external software. The Recovery Assistant is the primary utility, automatically scanning for and repairing system glitches or corrupted files that hinder performance. If a boot loop is caused by an outdated or damaged build, the Software Update tool can connect to Wi-Fi to download and install the newest iOS version directly. For hardware-related concerns, the Diagnostics Mode runs a full health check to identify specific components that may need professional service. When software issues are too deep to resolve, the Erase All Content and Settings option performs a factory reset, wiping all personal data to restore the device to its original state. Finally, the Traditional Recovery Mode remains available for those who need to switch to the classic mode required for connecting the device to a Mac or PC via a cable. This diverse range of options ensures that most software-related failures can be addressed locally with minimal effort.
Modern iPhones also included a hidden “Nearby Device Recovery” tool for wireless repairs, which allowed users to fix their phones using the connection of another nearby Apple device. To open this hidden menu, the user pressed and held the Side button once more while already inside the recovery screen. From the resulting menu, they selected “Wireless Rescue” to initiate a peer-to-peer connection that bypassed the need for traditional internet access. This feature proved invaluable in remote locations where cellular or Wi-Fi signals were weak. The evolution of these standalone recovery features represented a significant milestone in device longevity and user independence. By mastering these tools, owners were able to resolve complex software failures independently, reducing downtime and environmental waste. The move toward decentralized repair solutions signaled a period where hardware was no longer at the mercy of a single point of failure. These actionable steps allowed users to maintain control over their technology, ensuring that software errors were merely temporary.